Learning how to make an obstacle course for toddlers is one of the smartest ways to build their confidence, balance, and gross motor skills—without paying for expensive gym classes or equipment. The good news: you can create a safe, engaging course right at home using items you already own or can grab for a few dollars. This guide walks you through every step, from planning the layout to setting up individual challenges that are perfectly scaled for little bodies.
Key Takeaways
- Build obstacle courses with ultra-low heights and wide pathways designed specifically for toddler safety and ability levels.
- Use dollar-store and household items like pool noodles, cushions, painter's tape, and hula hoops to save money and reduce waste.
- A 5–8 obstacle course takes 30–45 minutes to set up and keeps toddlers engaged for 20–40 minutes of active play.
- Obstacle courses develop crucial gross motor skills including balance, coordination, strength, and spatial awareness.
- Both indoor and backyard versions work equally well; indoor courses are ideal for rainy days and require less setup space.
Why Toddlers Need Obstacle Courses (And Why Safety Comes First)
Obstacle courses aren't just fun—they're developmentally essential. Between ages 2 and 4, toddlers are rapidly building gross motor skills like balance, coordination, and body awareness. According to child development research, obstacle courses provide safe spaces for toddlers to challenge themselves physically and develop confidence in a controlled environment.
However, many parents skip obstacle courses because they worry about injuries. The solution isn't avoiding them—it's designing with toddler-first safety principles. This means using non-slip surfaces, keeping all heights under 12 inches, maintaining wide lanes so children don't bump each other, and removing hard edges. When set up correctly, a home obstacle course is actually safer than an unsupervised playground because you control every variable.
What You'll Need: A Dollar-Store Shopping List
One of the best parts of a DIY obstacle course is the cost. You likely have most items at home already. Here's what to gather:
- Pool noodles (colorful foam tubes; great for crawling tunnels, balance beams, and hurdles)—$1–2 each
- Pillows and couch cushions (soft landing zones and climbing challenges)
- Hula hoops (plastic, $1–3; perfect for hopping drills and weaving gates)
- Painter's tape or masking tape ($2–3; marks pathways and creates floor-is-lava safe zones)
- Plastic storage bins or baskets (items to crawl under or step over)
- Tennis balls or beanbags (tossing and throwing stations)
- Yoga mats or towels (non-slip base layers and soft surfaces)
- PVC pipes or cardboard tubes (tunnels and hurdle frames—free or very cheap)
- Chalk (outdoor hopscotch patterns and lane markers)
If you're short on items, check dollar stores, thrift shops, or ask friends for loaned cushions and toys. Recycled materials work beautifully and teach kids about reusing.
Design Your Layout: Indoor vs. Backyard Obstacle Course
Backyard Obstacle Courses
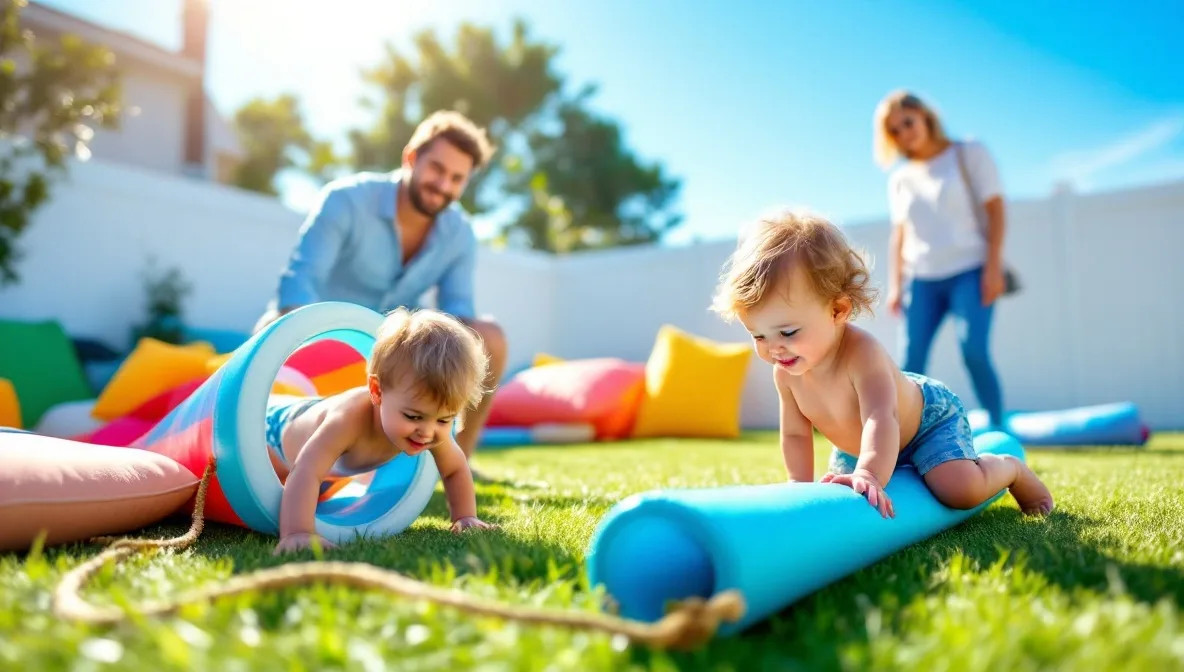
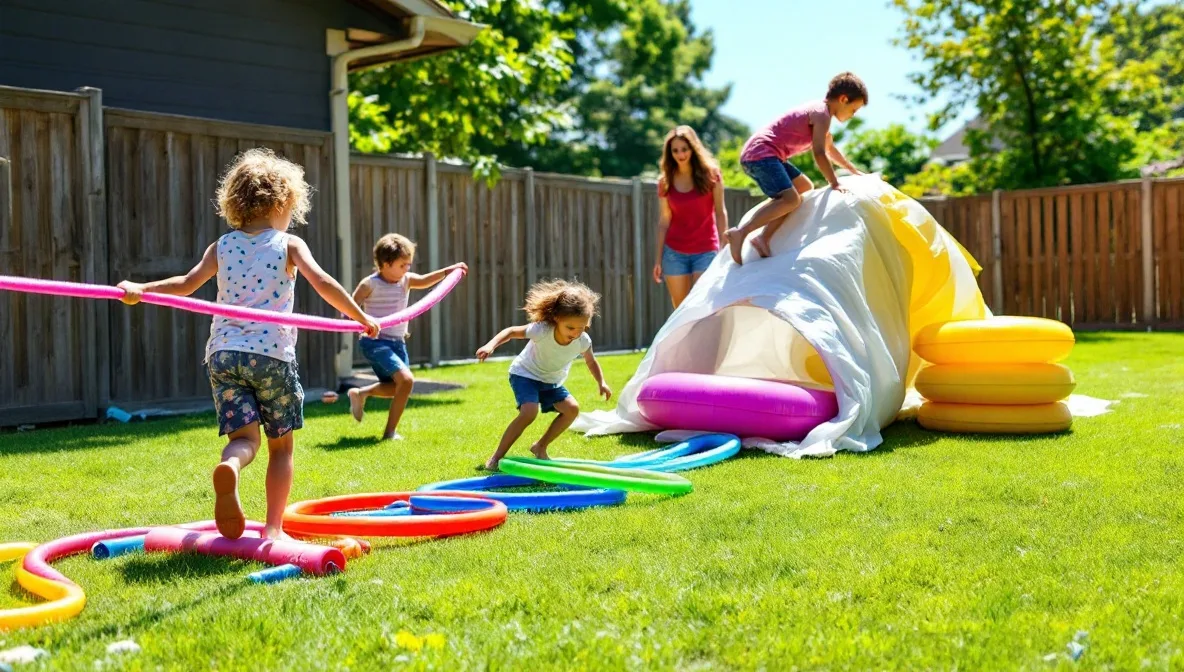
A backyard gives you more space and freedom for larger movements. Claim a section roughly 12–20 feet long and 8–10 feet wide. Use chalk or rope to mark lane boundaries so toddlers know where to move. Arrange obstacles in a flowing sequence—don't create dead ends where a child gets confused about where to go next. Test the pathway yourself on your hands and knees to spot hazards like sharp corners or gaps where little feet could catch.
Indoor Obstacle Courses
Living rooms, basements, and hallways are ideal for rainy days or year-round play. Hallways naturally create lanes. Living rooms offer softer landings. Use painter's tape on carpet to mark safe zones and keep obstacles 2–3 feet apart so toddlers don't feel crowded. Indoor obstacle courses are perfect for sensory play and coordination work on days when outdoor play isn't possible. Never block exits, and keep breakables and electronics out of the play zone.
The 7-Obstacle Beginner Course: Step-by-Step Setup
This simple configuration works for ages 18 months to 4 years and takes about 30 minutes to build. Adjust difficulty by making each obstacle slightly higher or more complex for older toddlers.
| Obstacle # | What It Is | How to Build It | Motor Skill Focus |
|---|---|---|---|
| 1. Starting Gate | Visual entry point | Two pool noodles held upright in buckets or cones, about 3 feet apart | Spatial awareness |
| 2. Balance Beam | Walking line | Pool noodle laid flat on the ground (or on two 6-inch blocks for elevation); add painter's tape to mark width | Balance, coordination |
| 3. Crawl Tunnel | Low crawling challenge | Drape a large blanket or yoga mat over two pool noodles; ensure 12–14 inches of clearance underneath | Upper body strength, spatial navigation |
| 4. Hula Hoop Hopscotch | Hopping and stepping | Lay 4–5 hula hoops in a staggered line 2 feet apart; toddlers step or hop from hoop to hoop | Leg strength, coordination, rhythm |
| 5. Cushion Climb | Gentle elevation | Stack couch cushions (max 10 inches high); toddlers climb up and down with adult supervision | Climbing, balance, confidence |
| 6. Bean Bag Toss Station | Accuracy and throwing | Place a basket or hula hoop 3–4 feet away; toddlers toss bean bags or soft balls into it | Fine and gross motor coordination, hand-eye focus |
| 7. Finish Celebration | Confidence booster | A simple red painter's tape line or a colorful blanket; let kids ring a bell or clap hands as they cross | Pride, closure, motivation |
Start with these seven elements, then add or swap them as your child grows. Adding sensory stations—like different textures to walk on or scents to explore—turns obstacle courses into rich multi-sensory learning experiences.
Safety Rules That Keep Everyone Smiling
Before your toddler starts, establish a few firm guidelines:
- One child at a time. Even with a wide course, toddlers can collide or pile up. Younger siblings or friends should wait their turn or play on a separate, parallel course.
- Adult supervision always. Stay within arm's reach, especially at climbing and balance stations. You're spotting for confidence, not safety catches—falls from these heights cause minimal harm if the landing surface is soft.
- No running through tunnels or over obstacles. Teach a slow, careful pace using words like "crawl slowly" and "walk across carefully."
- Rest breaks are normal. A 20–30 minute session is plenty. If your child looks tired or frustrated, stop and praise what they completed.
- Remove hazards. No hard objects, cords, or sharp edges within 3 feet of the course. Check that pool noodles and cushions are stable and won't shift.
- Dress appropriately. Avoid long pants that catch on things; wear shoes with grip, or go barefoot on soft surfaces.
Scaling Difficulty: Growing With Your Child
A 2-year-old and a 4-year-old have different abilities. Rather than building separate courses, modify obstacles as your child progresses:
- For ages 18–24 months: Focus on crawling, stepping over low items (3–4 inches), and gentle climbing. Skip anything requiring balance.
- For ages 2–3 years: Add balance beams (pool noodles on the ground), weaving through cones, and stepping through hula hoops.
- For ages 3–4 years: Introduce hurdles (pool noodles on 6-inch blocks), slalom weaving at a faster pace, and more complex movement sequences.
- For ages 4+ years: Layer challenges—combine two activities (crawl tunnel then hop through hoops), add timed fun, or build taller climbing structures under close supervision.
The beauty of a DIY course is flexibility. You adjust on the fly based on your child's energy level, mood, and skill that day.
Frequently Asked Questions
How do I make a safe obstacle course for a 2-year-old?
Keep all heights under 8 inches, use soft landing surfaces like cushions and yoga mats, space obstacles 2–3 feet apart, and maintain a wide, clear pathway. Focus on crawling, stepping, and gentle climbing rather than balance or speed. Adult supervision within arm's reach is essential.
What household items can I use for a toddler obstacle course?
Pool noodles, couch cushions, pillows, hula hoops, painter's tape, storage bins, blankets, yoga mats, tennis balls, PVC pipes, and cardboard tubes are all excellent. Even rolled towels, shoe boxes, and garden stakes (placed low) can become obstacles. The key is ensuring everything is soft-edged, stable, and non-toxic.
How many obstacles should be in a toddler obstacle course?
Start with 5–7 obstacles for a 20–30 minute play session. More obstacles don't always mean more fun; toddlers can become overwhelmed or lose focus. One complex, engaging obstacle beats five boring ones. Watch your child's engagement and adjust quantity and difficulty accordingly.
What gross motor skills does an obstacle course improve for toddlers?
Obstacle courses develop balance, coordination, strength, spatial awareness, body control, and confidence. They also build leg and core muscles, improve proprioception (knowing where your body is in space), and encourage risk-taking in a safe, supervised setting—all critical foundations for later sports and physical activity.
Can I set up an obstacle course indoors if I don't have a yard?
Absolutely. Hallways, living rooms, basements, and even bedrooms work well. Use painter's tape to mark safe zones on carpet, keep obstacles low and close together to fit the space, and ensure nothing blocks doors or exits. Indoor courses are excellent for rainy days and require less setup area than backyard versions.
Building a homemade obstacle course is one of the best investments in your toddler's physical development and confidence. With just a handful of dollar-store items and 30 minutes of setup, you create a play space that grows with your child for months or years. Start simple, keep safety at the forefront, and watch your little one discover what their body can do.

Comments 0
Please Sign in to leave a comment.
No comments yet. Be the first to share your thoughts!